
Installation
Installation Requirements
SolarView installation is fast and easy. You only need to click through a few security windows, accept the license agreement, and click through a few options.
The SolarView Desktop app (“SolarView”) should run on any Windows platform from Windows XP and above, however it is only tested and supported on Windows 7 and Windows 10.
Because SolarView operation is dependent on internet communications at all times, a reliable broadband connection is highly recommended for smooth operation.
Important Notes Before Installing
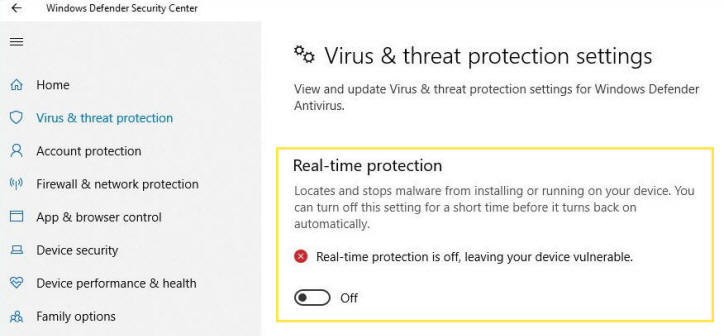
- It is strongly recommended to disable antivirus products prior to downloading and until the installation is complete. Some antivirus products, such as Windows Defender, are known to give a false positive warning that will prevent download and/or installation and give an indication of a trojan infection. This is a false warning: SolarView is entirely safe and free of any infection. Each antivirus product is different, but should offer a way to temporarily disable protection. For example, for Windows Defender you may go to Windows Settings, Virus and Thread Protections, and turn off “Real-time protection”. After installation is complete, be sure to turn the protection back on.
- If you have previously downloaded SolarView, you may need to clear the cache on your browser so that a fresh installer may download. Each browser has different steps for clearing cache, but a general guide is provided here.
- If you already have a previous version of SolarView installed, be sure it is not running or else installation will fail.
Installation Procedure
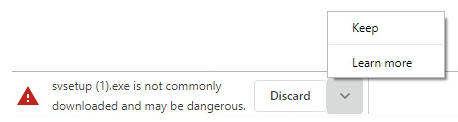
- Download the SolarView installer from the MySolarView.com web site. Note that some browsers may block the download, requiring you to authorize it. For example, downloading with Chrome may give you the following warning:
 In this case, click the up-arrow on the right side. This will give you an option to keep or discard the download. Select Keep.
 You may then click Open or double click on the download to run it. At this point, Windows may also block the software by default, again requiring you to authorize it. For example on Windows 10 you may see the following:

Click on “More info” to see the option to run the installation anyway.
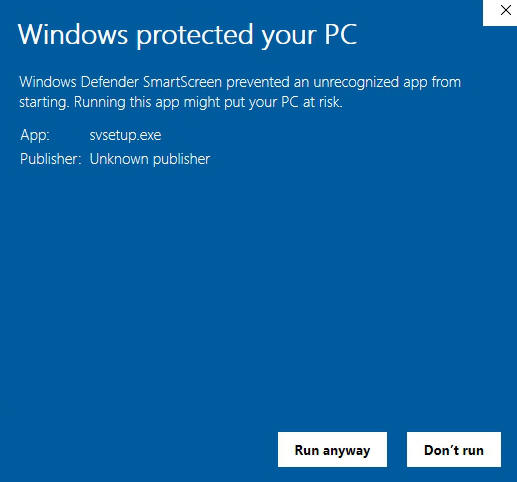
Click on “Run anyway” to start the installation.
Don’t worry about these security steps – SolarView is not infected or dangerous in any way.
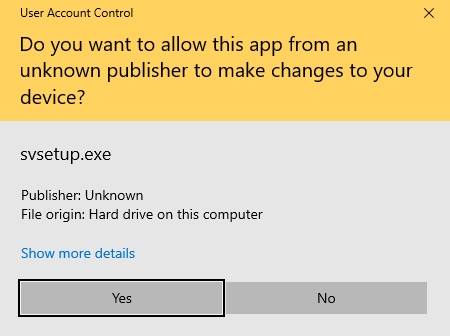
- Next, click Yes on the prompt below if it is displayed.
- Click Next.
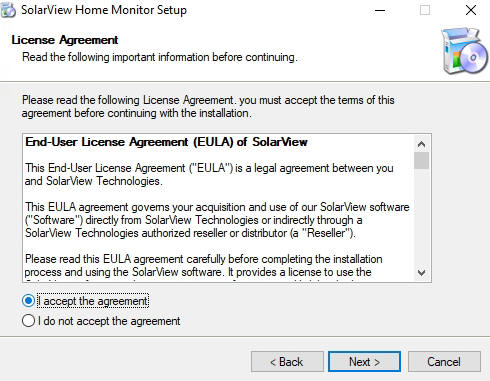
- Review the End-User License Agreement (EULA), click “I accept the agreement”, then click Next. You must accept in order to use SolarView.
- Click Next to use the default installation path.

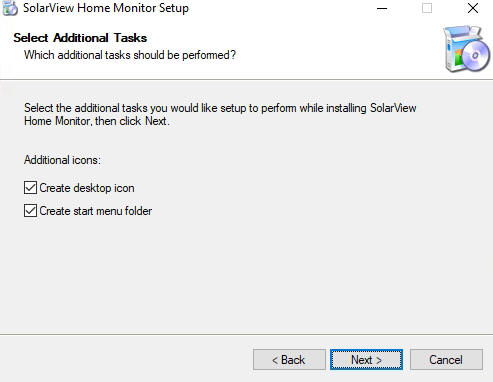
- Click Next to have a shortcut placed on your desktop and to have SolarView start automatically after a computer restart.
- Click Finish.
- You’re done! If SolarView does not start automatically, double-click the shortcut icon on your desktop

- The first time you start SolarView, you will be prompted to enter your Site ID and API Key. Learn more about initial configuration of these settings in the Validation section of this guide.
An important note about operating SolarView Desktop app:
Once you have registered your SolarView Desktop app our central monitoring service begins keeping 24/7 watch on your solar energy system, and will send you reports and notifications even if your SolarView Desktop app is not running on your computer. Although you don’t need to run the SolarView Desktop app, it provides you with a convenient “real-time” view of your system status without having to log into the SolarEdge web site or app, and it allows you to view graphs and generate custom reports about your solar energy system. Many people will want to keep it up and running in a corner of their computer screen so they know at a glance how much energy is being produced at any given time.